Sunday 20 January 2019

Thinking of warmer weather

Not sure what the weather is like for everyone else, but ours is bitterly cold and snowy. So I decided to stay warm in my craft room and think of spring! I seen another card with the new Butterfly Friendship stamped on black cardstock and thought it would be perfect!

I randomly stamped one of the butterflies in white ink on a 3 3/4 x 5 pieces of black cardstock. I made three and coloured each one differently. The first one I used oranges, yellow  and red pencils and black glitter gel pen.


The next one I coloured with blue pencils and used a silver metallic gel pen. The results are amazing .


The last one I decided to use all gel pens. I used pink, purple, peach and black glitter gel pens. The look on this one I more modern or abstract, but I like the look. It’s a little different for me but I’m always trying something new. 


Saturday 19 January 2019

Love is in the Air!

I’ve always loved to decorate for different times of the year,  but Valentines was never one I’ve done before. So I thought why not, new crafty room, New Year, new adventurer, so why not! For  this banner I’ve used my favourite - foam core board! Light weight and can be cut into endless shapes. I used my wood burning kit that has a little knife that heats up to cut my board.


Once I cut them all out I sanded each one with sand paper and an nail file.
I cut out 7”  triangle panel pieces on the cricut using the Art Philosophy cartridge and I cut an scalloped triangle to put in the back.  I cut 3 front pieces in Blush cardstock and 3 in a printed paper. The scalloped triangle I cut from Colonial White cardstock. I cut 1/8” strips of  Blush paper to cover the edges of each panel. I inked all the edges of the triangles with Sugarplum ink and glued them to the foam core board.


I then cut out rosettes from the Artise cartridge in the Blush and printed paper. I inked those edges in Sugarplum as well.  I cut roses from the Artise cartridge in 2” and 2 1/2”. I inked them in Sugarplum and then used the Blush Shimmer brush on the edges. I used dollies on 3 panels that I used both gold and clear shimmer brushes on the edge. I used a really wide sheer ribbon on the Blush panels.


I added a crochet ribbon and them Pom Pom ribbon on the top using hot glue.  I cut the letters out of gold glitter cardstock using the Art philosophy cartridge. I hot glued everything each panel as I wanted it to last but you could also use liquid glass. I used my pokey tool to put holes in the top
corner of each panel so I could use 2 pieces of sheer cream ribbon to tie each panel together. It was very difficult to get the holes in the crocheted ribbon, have to be very careful and make sure the hole is large enough without being to big. 


I’m so very happy with how this banner turned out. I think it will stay up way past Valentine’s Day. Thanks fir stopping by!


Monday 14 January 2019

New Year, New Adventures!

Wows, it’s been a long, long time since I’ve used my blog. I really didn’t realize it has been so long. There’s been so many changes since my last post. I won’t go into everything but I will touch on the most important ones.

I started doing monthly crops  and 2 weekend retreats a year with my amazing friend Michele Burnard. She is a Creative Memories rep and we have lots of fun at the events and work very well together. We both sell amazing products and  it benefits us both. So don’t be afraid to try something new. It’s been an amazing adventure and I’m looking forward to more!

Last year I decided to also stop doing my home daycare full time and just do before and after school care. Been running the daycare for just over 15 years and needed a change. It’s wasn’t  an easy decision to make as I know it will take a while to get things up and running but I’m up to challenging myself. This  past fall my hubby helped me make over the toy room into my new craft room/ studio. It’s not a huge space but it has room for 4 people plus I can put 2 people in the kitchen at the island.
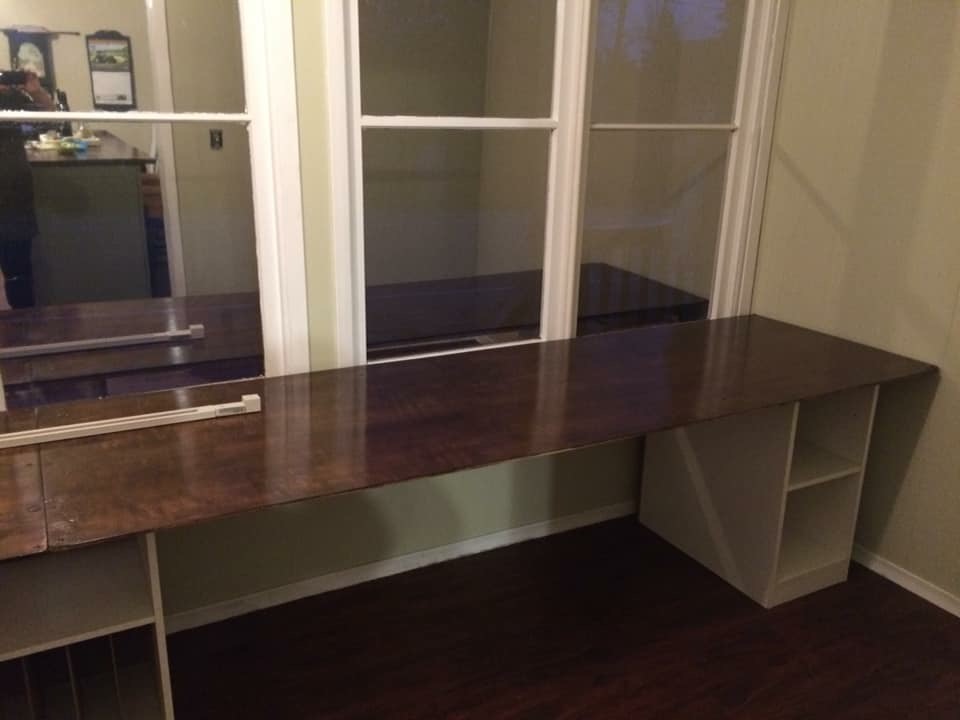
My hubby made me a 16’ desk with 3 storage shelves underneath and made shelves for the walls to hold ribbon and stamps. I still have my cricut, cartridges,big shot and dies and folders amongst other crafty supplies in my old room. I wanted everything I’m my new room, but I knew that wouldn’t be possible and I’m ok with that. I need to get up and move around instead of sitting around all day.

Here are the before, during and after pictures and a video of the new space. My hubby was a great help with my room from bulding and hanging crafty cupboards to putting up with me changing my mind. LOL.

I have acarmoire thst holds my CTMH stamps along with card stock, gems and so many other things. I have lots of space for ribbon, colouring supplies, paper and lots of embellishments. This room gets lots of natural light and the view isn’t to bad, it could be worse.

Well that’s all for today, I have a 16th Birthday Day card to finish for my youngest today. His birthday is today, nothing like leaving it to the last minute.

Thanks for visiting today!